
The squat is one of the most useful exercises you can learn, and also one of the most commonly done wrong. Most people either drop their heels, round their lower back, or let their knees cave inward without realizing it. Once you understand the mechanics, a squat becomes a natural movement rather than something you have to think through every rep.
This guide breaks down exactly how to squat with correct form, what to do if something feels off, and how to progress from bodyweight squats to loaded variations.
What Muscles Does a Squat Work
A squat is a compound movement, which means it works several muscle groups at once instead of isolating a single one. The primary movers are the quadriceps, glutes, and hamstrings. Your core stays engaged throughout to keep your spine stable, and your calves and lower back assist depending on your stance and depth.
Because so many muscles are involved, squats build functional strength that carries over into everyday movement patterns like standing up from a chair, climbing stairs, or picking something up off the floor.
How to Do a Bodyweight Squat Step by Step
Learning the bodyweight squat first is the right approach, even if your goal is eventually to squat with a barbell. It teaches your body the correct movement pattern without the added complexity of managing external weight.
Step 1: Set Your Stance
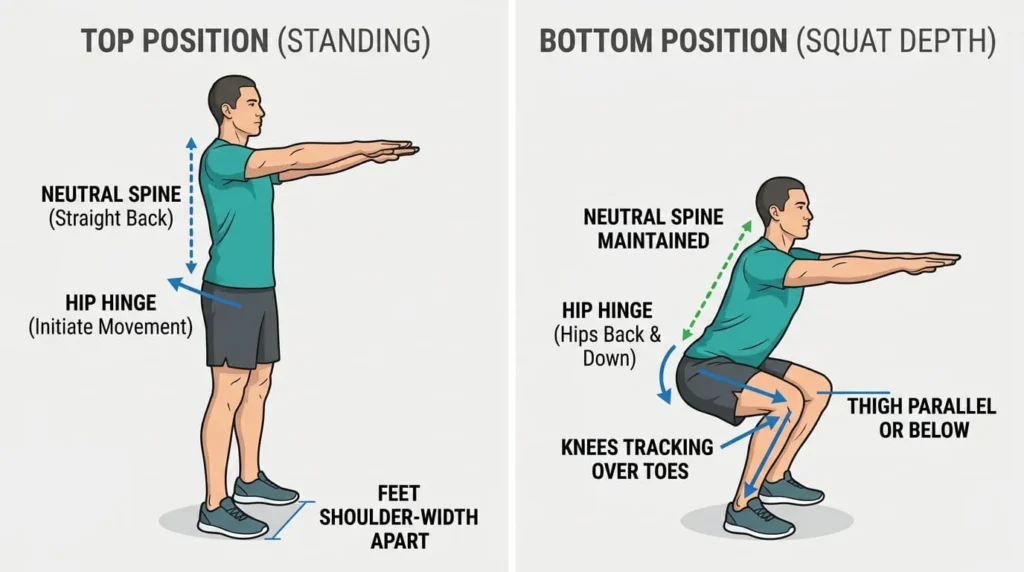
Stand with your feet roughly shoulder width apart. Turn your toes out slightly, somewhere between five and twenty degrees, depending on what feels natural for your hips. There is no single correct stance width. It depends on your hip structure and mobility.
Step 2: Brace Your Core
Take a breath into your belly and tighten your midsection as if you were about to take a light punch to the stomach. This bracing keeps your spine stable as you lower into the squat.
Step 3: Push Your Hips Back and Bend Your Knees
Begin the movement by pushing your hips backward, not by bending your knees first. Think of it as sitting into a chair behind you. As your knees bend, let them travel out in the same direction as your toes.
Step 4: Lower Until Your Thighs Are Parallel
Keep lowering until your thighs are at least parallel to the floor, or lower if your mobility allows it without your lower back rounding. Your knees should track over your feet rather than caving inward.
Step 5: Drive Back Up Through Your Whole Foot
Push through your entire foot, not just your heels or the balls of your feet. Straighten your hips and knees together until you are standing tall again. Squeeze your glutes at the top without arching your lower back excessively.
Common Squat Mistakes and How to Fix Them
Most squat problems trace back to one of a handful of habits. Recognizing which one applies to you makes fixing it much faster than trying to overhaul your entire form at once.
Your knees cave inward as you descend. This usually means your glutes and outer hips are not firing enough to control the movement. Practice pushing your knees out against a resistance band looped above your knees until the pattern feels automatic.
Your heels lift off the floor. This is often an ankle mobility issue. Try elevating your heels slightly on a wedge or small weight plates while you work on ankle flexibility separately.
Your lower back rounds at the bottom. This typically happens when you squat deeper than your current hip mobility allows. Stop a few inches higher until you build the flexibility to go lower without losing spinal position.
You feel the movement mostly in your lower back instead of your legs. This points to weak core bracing. Slow the descent down and focus on keeping tension in your abs throughout the entire rep.
How Low Should You Squat
There is no universal depth requirement, and chasing maximum depth without the mobility to support it usually causes more problems than it solves. A good working target is thighs parallel to the floor. If your hips, ankles, and knees allow you to go lower while keeping your lower back neutral, that is fine too. If your form breaks down before you reach parallel, that is your current working depth, and it will improve with practice.
Adding Weight to Your Squat
Once your bodyweight squat feels controlled and pain free, adding load is the natural next step. Two options work well for most people starting out.
Goblet Squat
Hold a dumbbell or kettlebell vertically against your chest with both hands. This weight placement makes it easier to keep your torso upright, which is why it is often recommended as the first loaded squat variation. Follow the same hip and knee mechanics as the bodyweight version.
Barbell Back Squat
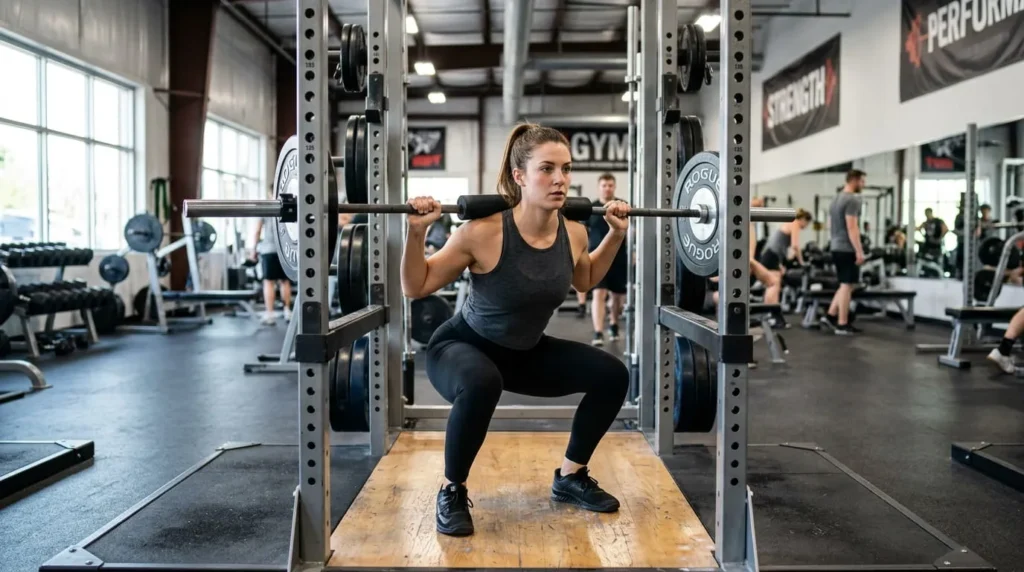
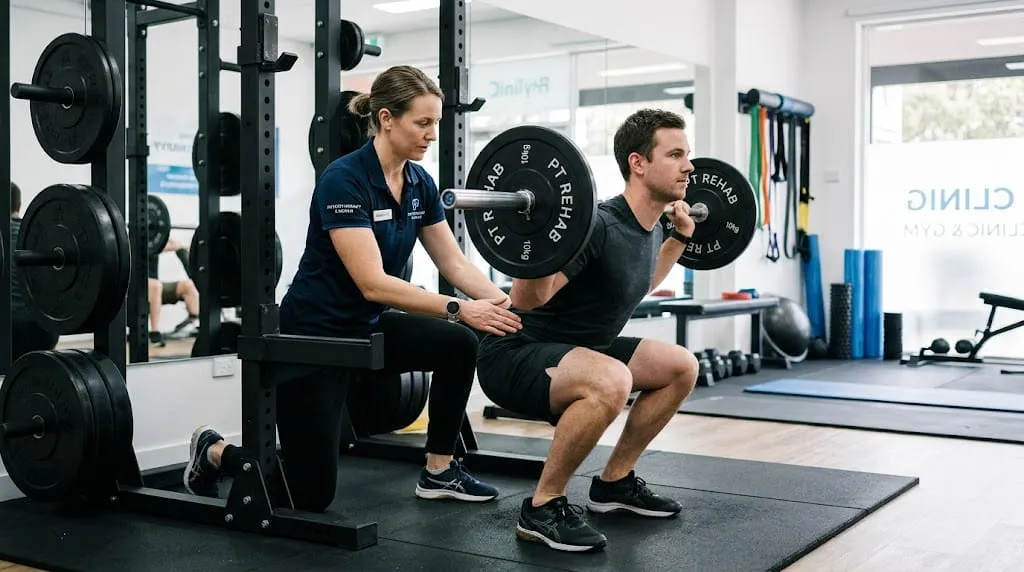
Once you are comfortable with the goblet squat, the barbell back squat allows you to load significantly more weight. Rest the bar across your upper traps, not your neck, and keep your elbows pointing down and back to create a stable shelf. This variation requires more setup and benefits from having a spotter or safety pins in a squat rack, especially as the weight increases.

How Often Should You Squat
For most people, training the lower body two to three times per week with at least one rest day between sessions allows for both strength gains and recovery. Beginners often see faster progress by practicing the bodyweight movement daily until the pattern feels natural, then shifting to a structured two or three day schedule once weight is added.
Squat Variations Worth Knowing
Once the standard squat feels solid, a few variations are worth adding into your routine depending on your goals.
The front squat shifts more emphasis onto the quads and requires a more upright torso, making it demanding on shoulder and wrist mobility. The split squat trains each leg independently, which helps correct strength imbalances between sides. The sumo squat uses a wider stance with toes turned out further, placing more emphasis on the inner thighs.
None of these variations are inherently better than the standard squat. They simply shift the emphasis and are useful tools once your basic form is reliable.
When to Modify or Avoid Squatting
If you have an existing knee, hip, or lower back condition, squatting can often still be done safely, but the depth, stance, and load may need adjusting. Sharp pain during the movement, as opposed to normal muscle fatigue, is a sign to stop and reassess your form or reduce your range of motion. If pain persists even after adjusting your technique, it is worth checking in with a physical therapist or doctor before continuing to load the movement.
Squatting through discomfort in an effort to push through a workout is not the same as building strength safely, and it often leads to setbacks that take longer to recover from than the time saved by resting.
The squat rewards patience more than intensity. Mastering the bodyweight version first, paying attention to where your form breaks down, and adding load gradually will get you further than rushing straight to heavy weight. Once the pattern feels automatic, it becomes one of the most efficient exercises you can keep in your routine for years.